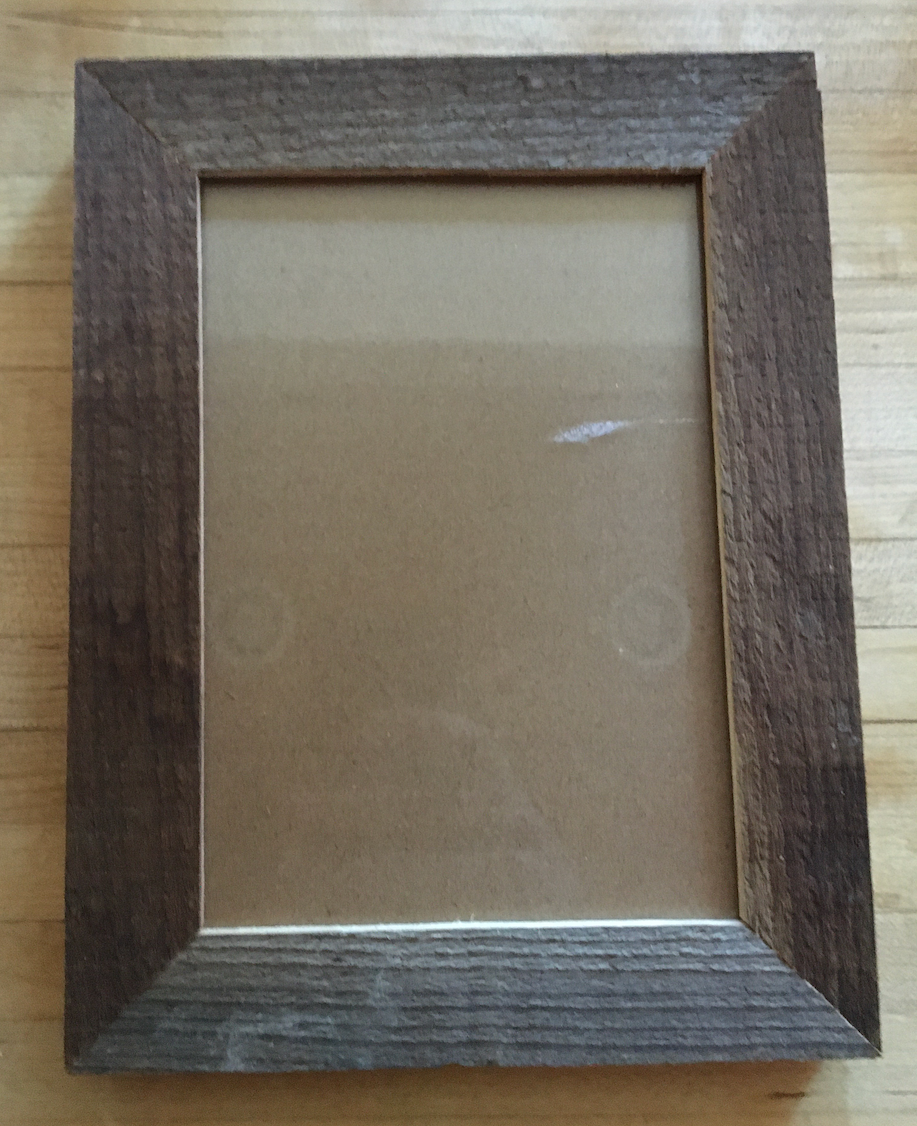
Picture Frame
Here’s instructions for how I made a picture frame, along with a webapp to help facilitate the measurements for future picture frames.
The tools I used are
- ruler
- table saw
- miter saw
- band clamp
Materials I used
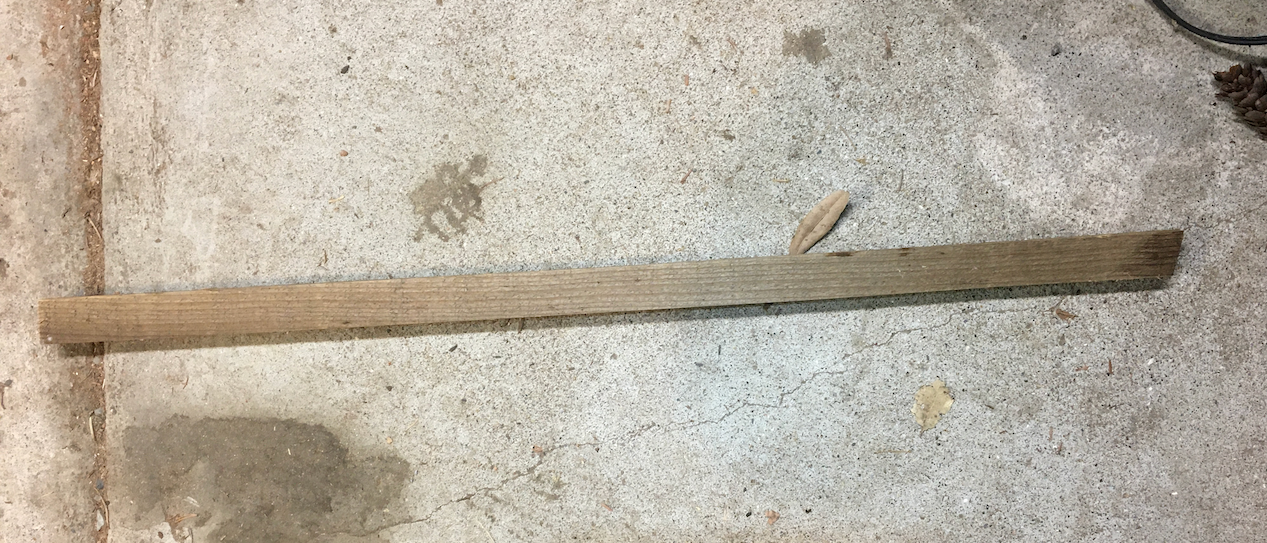
- scrap plank, 3/4” thick
- picture hanger
- plexiglass / glass
- cardboard
- wood glue
Here’s the webapp where you can figure out particular measurements. The width I used for this frame was 1” and the picture size was 5” x 7”.
First I cut a 1+5/16” piece
And then proceeded to cut two grooves in it, at 3/16” deep and 5/16” deep.
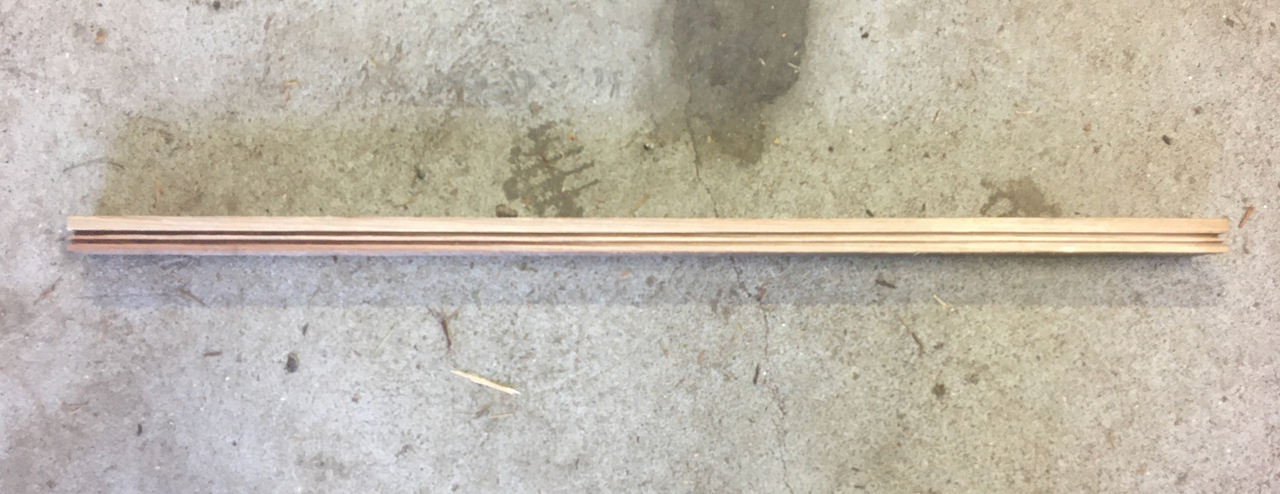
Then I turned the piece sideways, and cut to the depth of the 3/16” groove– cutting out the backside
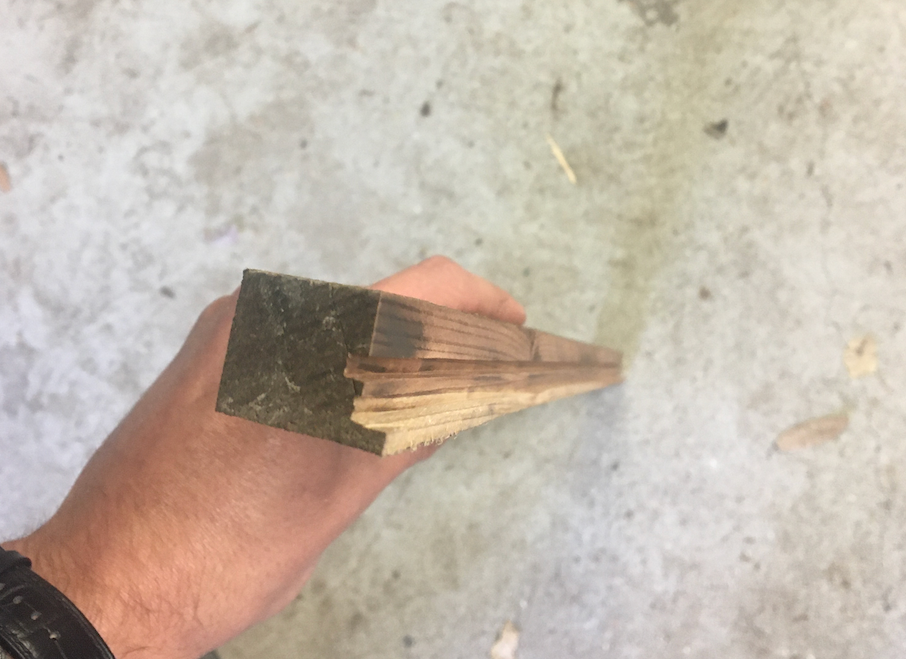
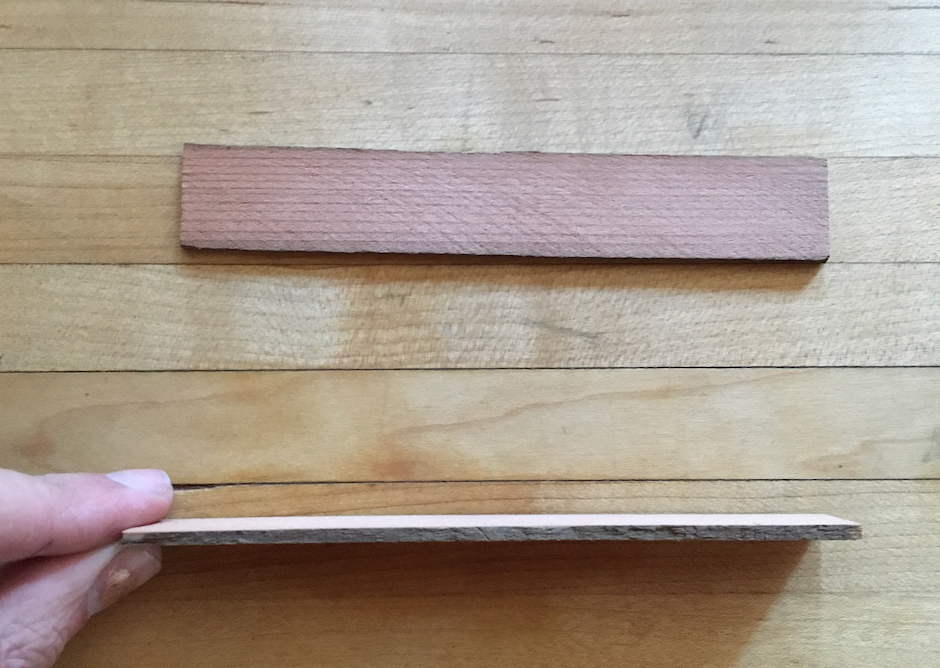
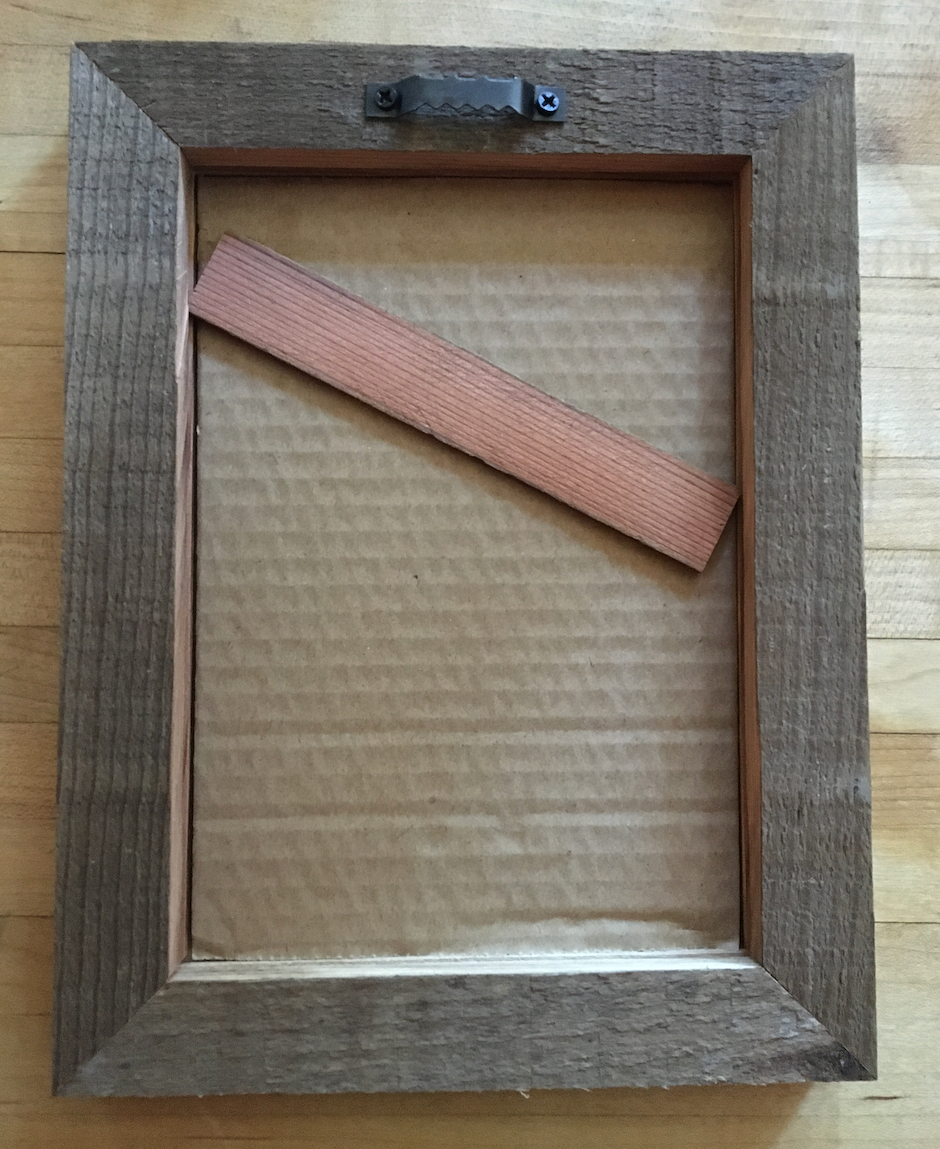
I cut two slats to hold the picture frame in from the back instead
Then glued the pieces together, clamped it with a band clamp, cut cardboard to 5” x 7”, and screwed in the picture hanger mount
Cut a piece of plastic, plexiglass, glass, etc. and put it right on in